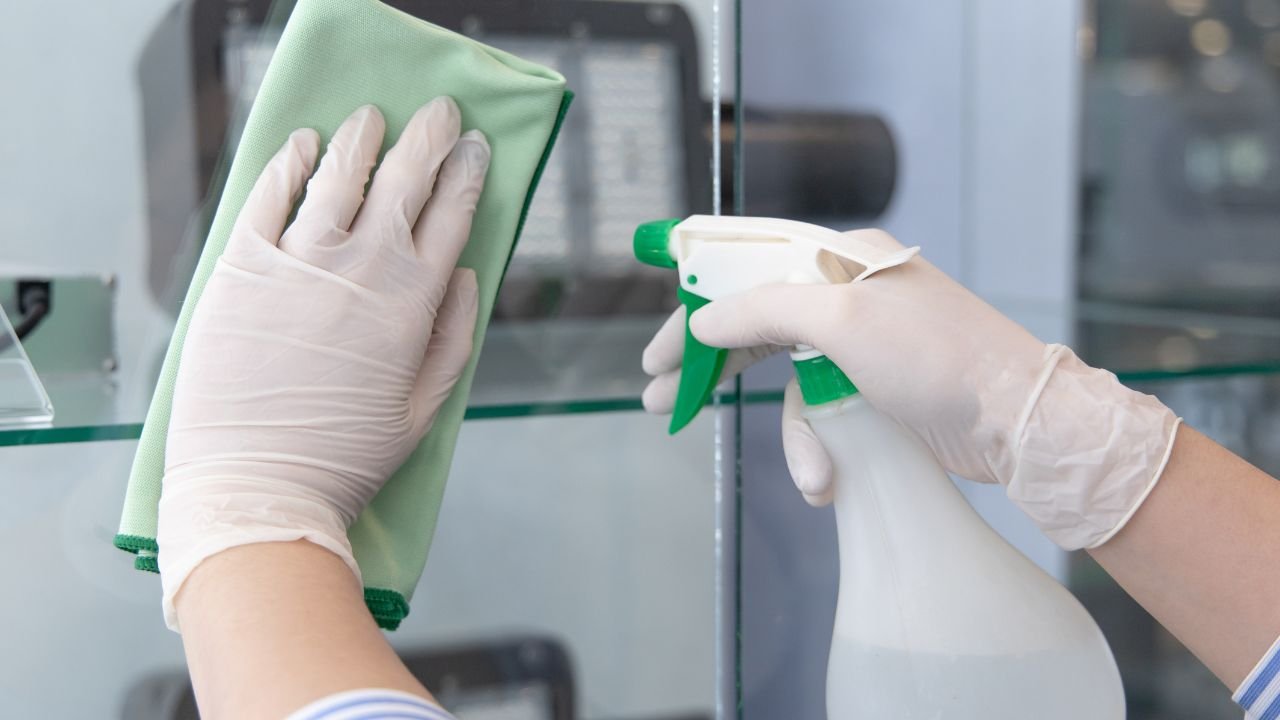
Cleaning is a fundamental aspect of our daily lives, yet it often goes unnoticed until chaos ensues. Whether in our homes, offices, or public spaces, a clean environment promotes health, productivity, and peace of mind. But cleaning is not just a single act; it’s a process comprising several stages. Understanding these stages can make the task more manageable and efficient. In this blog post, we delve into the seven stages of cleaning, offering insights and practical tips to help streamline your cleaning routine. Welcome to the world of effective cleaning with SweepStress.
Introduction to Cleaning Stages
Cleaning goes beyond the act of wiping surfaces; it encompasses a holistic approach that ensures thoroughness and efficiency. The seven stages of cleaning provide a structured method that professionals and homeowners alike can adopt to achieve pristine environments. These stages are not only practical but also essential for maintaining hygiene and organization.
Why Understanding Cleaning Stages Matters
Understanding the stages of cleaning is crucial for several reasons:
- Efficiency: Knowing which stage to prioritize can save time and resources.
- Consistency: A structured approach ensures each area is cleaned to the same standard.
- Effectiveness: Each stage targets different types of dirt and grime, ensuring nothing is overlooked.
The Seven Stages of Cleaning
Stage 1: Clearing the Area
The first step in any cleaning process is to clear the area of clutter. This involves removing items that are not supposed to be in the space or that may obstruct cleaning. Whether it’s toys on the living room floor or files scattered across an office desk, clearing the area helps you focus on the task at hand.
Tips for Effective Clearing
- Sorting: Categorize items into keep, discard, or relocate.
- Storage Solutions: Use baskets, bins, and shelves to organize items efficiently.
- Regular Maintenance: Incorporate clearing into your daily routine to prevent clutter from accumulating.
Stage 2: Dusting
Dusting is essential for maintaining air quality and aesthetics. Dust particles can harbor allergens, bacteria, and other pollutants. Regular dusting prevents these particles from settling and becoming more difficult to remove.
Dusting Techniques
- Top-to-Bottom: Dust from the highest surfaces downward to avoid re-contaminating cleaned areas.
- Microfiber Cloths: Use microfiber cloths for efficient dust capture without spreading particles.
- Electronics: Pay special attention to electronic devices, as they attract and accumulate dust.
Stage 3: Vacuuming
Vacuuming is crucial for removing dirt, debris, and pet hair from carpets and rugs. A good vacuum cleaner can also help eliminate allergens, making the environment healthier.
Vacuuming Best Practices
- Regular Schedule: Vacuum at least once a week, more often if you have pets.
- Proper Technique: Use long, slow strokes to ensure maximum dirt removal.
- Attachments: Utilize vacuum attachments for corners, upholstery, and other hard-to-reach areas.
Stage 4: Washing
The washing stage involves cleaning surfaces with water and detergents to remove stains and spills. This is particularly important for kitchens and bathrooms where bacteria can thrive.
Effective Washing Strategies
- Right Products: Choose appropriate cleaning agents for different surfaces; for example, glass cleaner for mirrors and windows, and disinfectant for bathrooms.
- Hot Water: Whenever possible, use hot water to enhance cleaning effectiveness.
- Scrubbers and Brushes: Employ scrubbers for stubborn stains on tiles and grout.
Stage 5: Disinfecting
Disinfecting is the process of killing germs and bacteria on surfaces. This stage is vital in areas prone to contamination, such as kitchens and bathrooms.
Disinfecting Essentials
- Disinfectant Choices: Select a disinfectant suitable for each surface type.
- Contact Time: Allow disinfectant to sit for the recommended period to ensure efficacy.
- Focus Areas: Pay special attention to high-touch areas like doorknobs, switches, and faucets.
Stage 6: Drying
Drying is often overlooked but is a crucial step in preventing mold and mildew. Ensuring that surfaces are dry after cleaning helps maintain their integrity and appearance.
Tips for Efficient Drying
- Air Circulation: Open windows or use fans to facilitate quicker drying.
- Absorbent Towels: Use highly absorbent towels or cloths to speed up the drying process.
- Avoid Wet Spots: Regularly check for any remaining wet spots and address them promptly.
Stage 7: Inspecting
Inspection is the final stage, ensuring that every area meets the desired cleanliness standard. This step helps identify any spots that require additional attention.
Inspection Checklist
- Visual Examination: Look for overlooked spots or streaks.
- Touch Test: Run your hand over surfaces to check for residual dust or grime.
- Smell Test: Ensure there are no lingering odors indicating incomplete cleaning.
Conclusion: Achieving Cleanliness with SweepStress
By understanding and implementing the seven stages of cleaning, you can transform any space into a haven of cleanliness and order. This structured approach not only makes cleaning more manageable but also ensures thoroughness in every task.
At SweepStress, we believe that efficient cleaning is achievable for everyone. Whether you’re a professional cleaner or a homeowner, these stages offer a roadmap to impeccable cleanliness. Embrace this method to enhance your cleaning routine, and if you seek further guidance, explore our detailed resources and products designed to support you at every step.


Leave a Reply